Introduction
As games developers, we know the importance of capturing our gameplay experiences and sharing them with others. Whether it’s for showcasing our work to potential clients or simply for fun, recording games while playing can be a great way to share our passion for gaming.
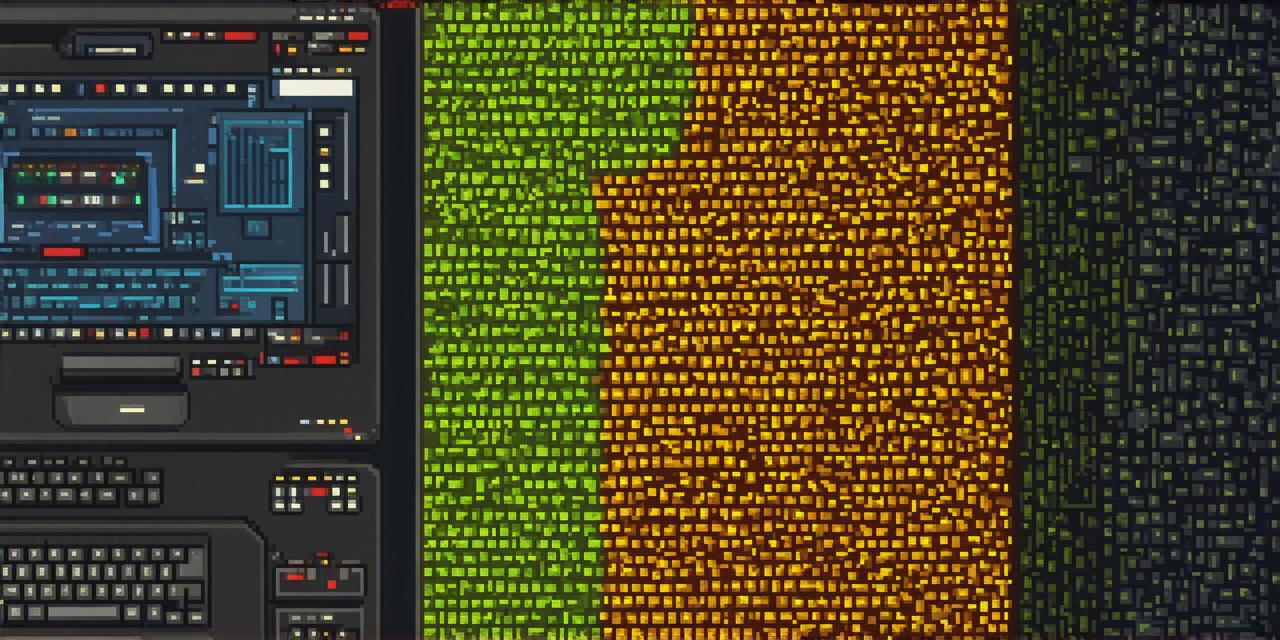
1. Choose the Right Equipment
Before you start recording your gameplay, it’s important to choose the right equipment. There are many different types of game capture software available, each with its own unique features and capabilities. Some popular options include OBS Studio, Elgato Game Capture, and NVIDIA ShadowPlay. Each of these programs has its own strengths and weaknesses, so it’s important to do your research and choose the one that best fits your needs.
2. Set Up Your Recording Settings
Once you have chosen your game capture software, it’s time to set up your recording settings. This will depend on a variety of factors, including the type of game you’re playing, the resolution and frame rate you want to record at, and the audio options you want to include. In general, it’s a good idea to start with the default settings and then adjust them as needed to get the best results.
3. Start Recording

Now that your equipment is set up and your recording settings are configured, it’s time to start recording. To do this, simply launch your game capture software and select the game you want to record. The program will automatically start capturing your gameplay, including both the video and audio. You can then use the software to edit and enhance your footage as needed.
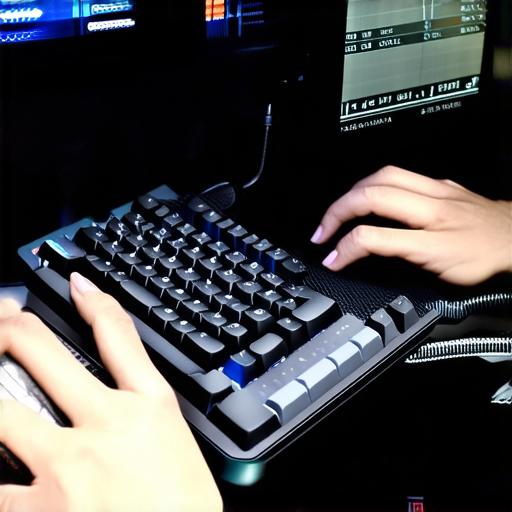
4. Use Keyboard Shortcuts
One of the most useful features of game capture software is the ability to use keyboard shortcuts to control the recording process. For example, you can use the “F9” key to start and stop recording, or the “F10” key to switch between recording the video and audio only. These shortcuts can save you a lot of time and effort when recording your gameplay, especially if you’re playing for extended periods.
5. Experiment with Different Perspectives
When recording your gameplay, it’s important to experiment with different perspectives to find the one that works best for your needs. For example, you might want to use a split-screen view to show both the game and your reactions, or you might want to use a third-person perspective to give viewers a better sense of the action. Try out different perspectives and see what works best for your gameplay style.

6. Edit Your Footage
Once you’ve finished recording your gameplay, it’s time to edit your footage. This can involve anything from trimming out unnecessary content to adding special effects or transitions. There are many different video editing tools available that can help you do this, including Adobe Premiere Pro, Final Cut Pro, and iMovie. Each of these programs has its own unique features and capabilities, so it’s important to choose the one that best fits your needs.
7. Share Your Gameplay with Others
Finally, once you’ve edited your gameplay footage to your liking, it’s time to share it with others. You can do this by uploading your videos to platforms like YouTube or Twitch, or by sharing them on social media sites like Facebook or Twitter. Whatever method you choose, be sure to include a clear and concise description of your gameplay, including the game you’re playing, the date and time of your recording, and any other relevant information.
Conclusion
Recording your gameplay experiences can be a fun and rewarding way to share your passion for gaming with others.